Last updated November 22, 2026
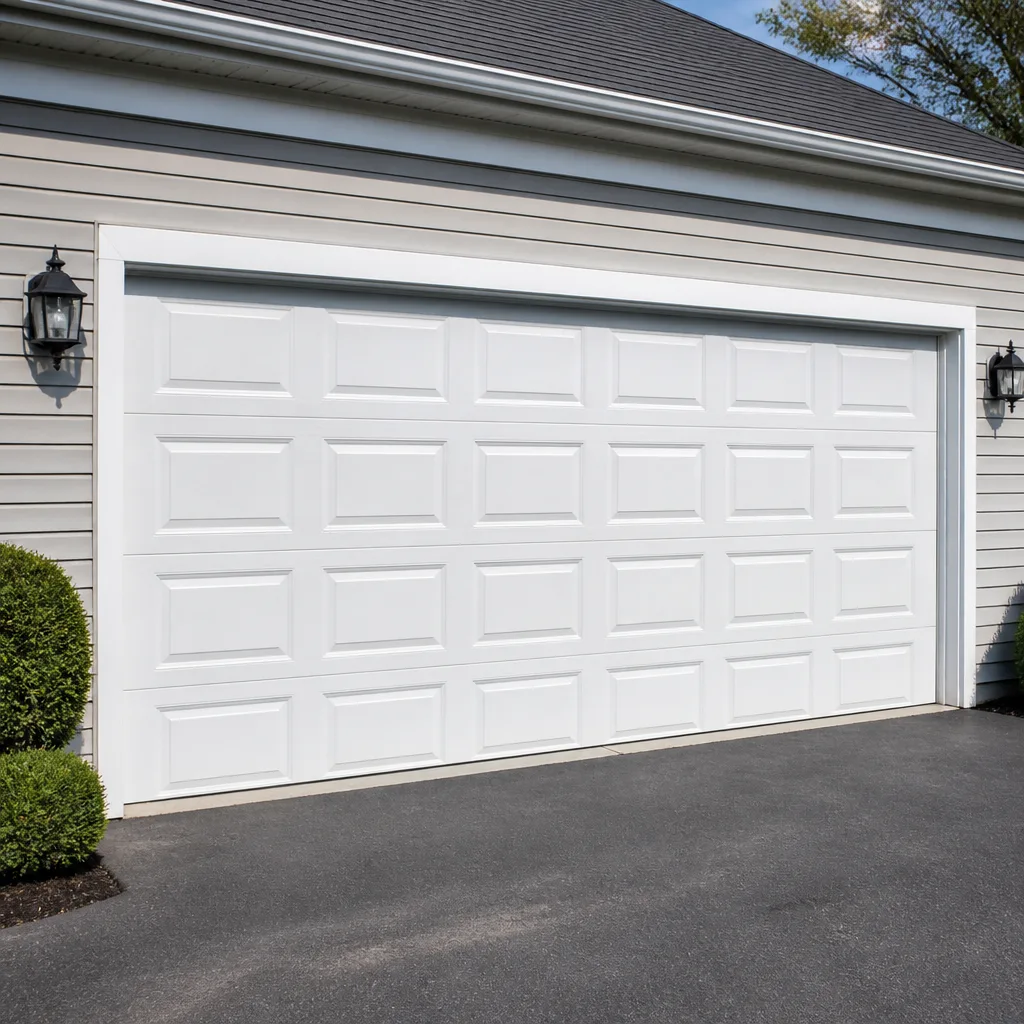 Raised-panel steel
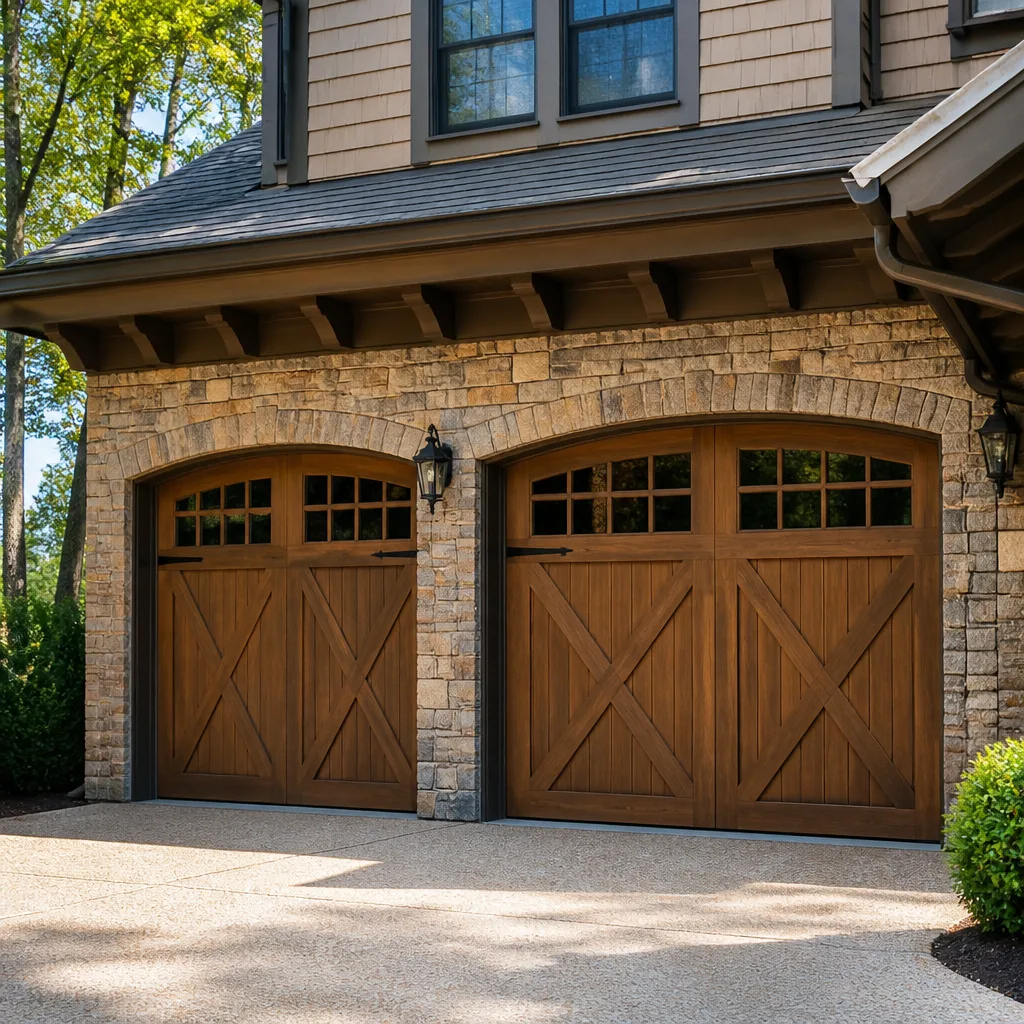 Carriage house
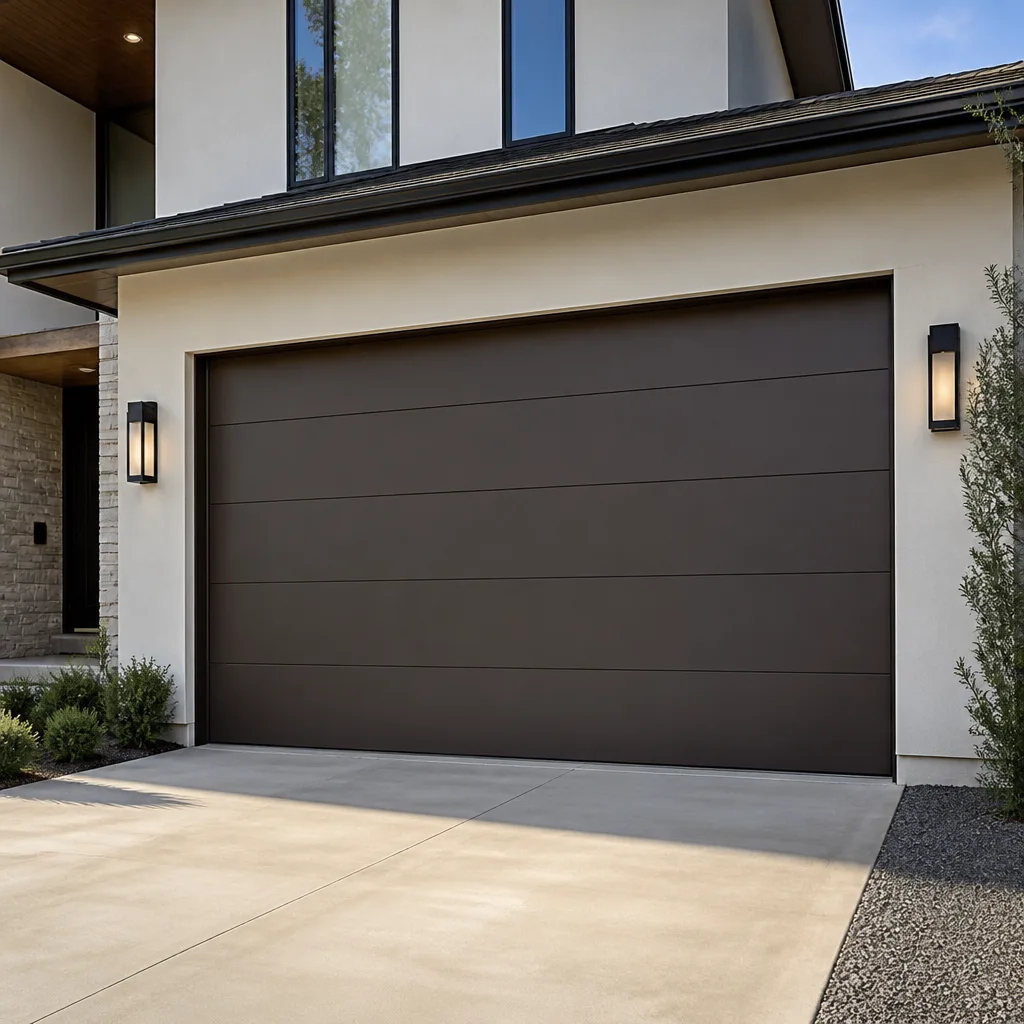 Modern flush
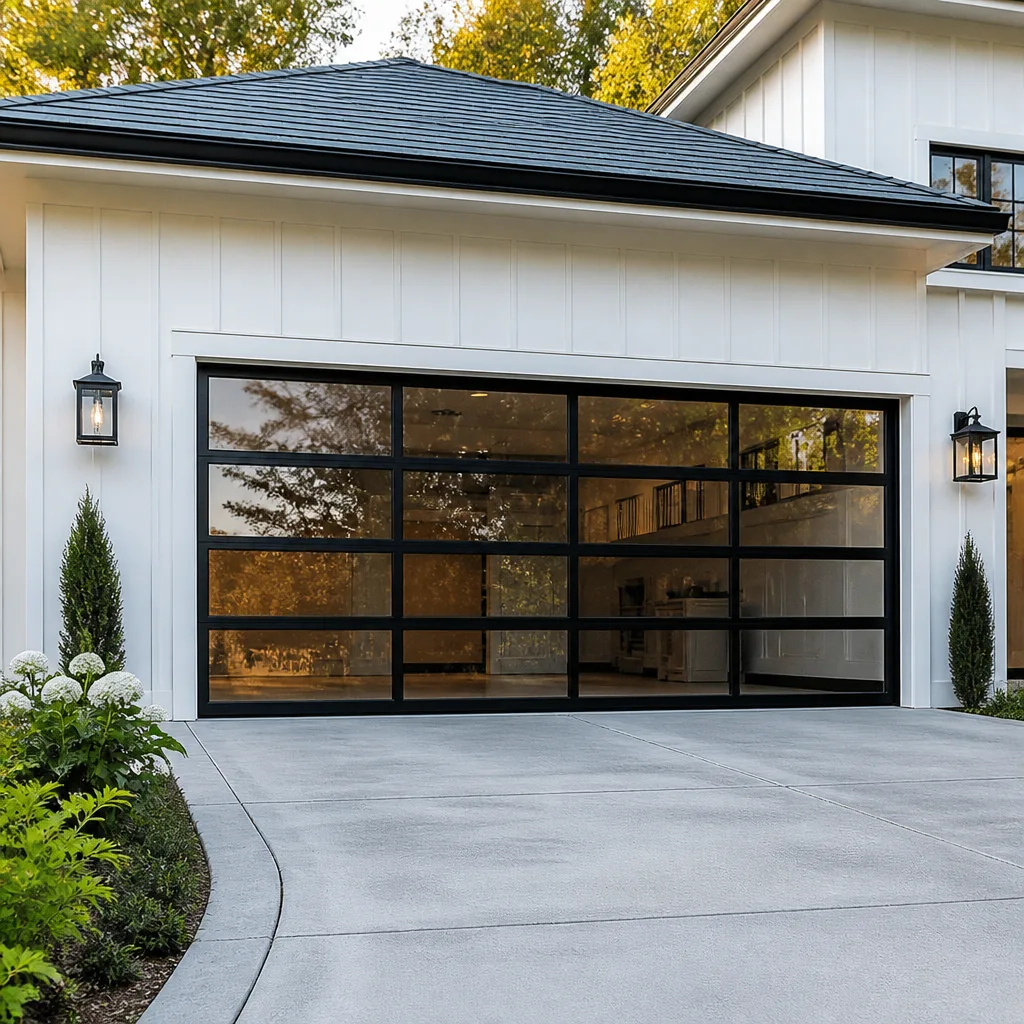 Full-view glass
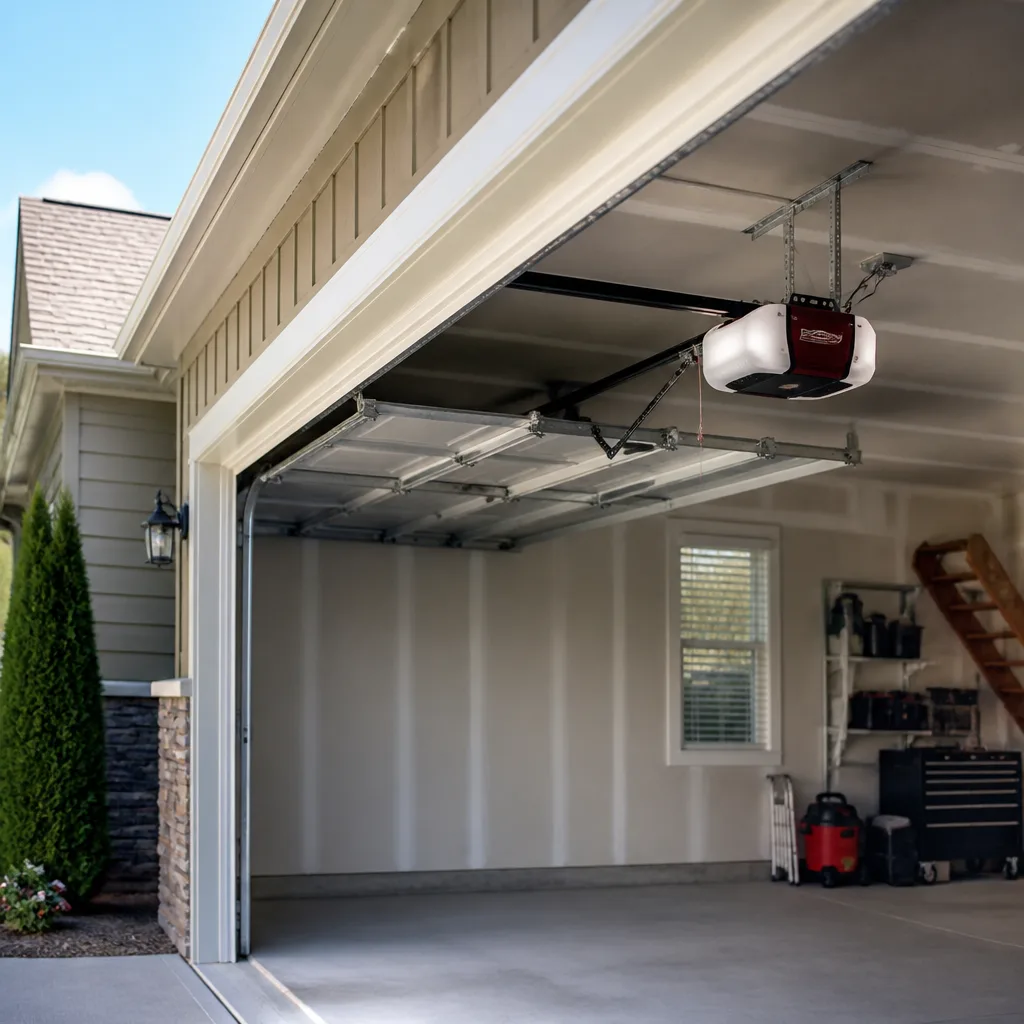 LiftMaster openers
 Chamberlain openers
Full 25-point door and opener safety check with every visit - springs, cables, rollers, tracks, and your LiftMaster or Chamberlain opener included
You get a price before we start. It does not change when the pro arrives.
Get your free estimateGarage Door Repair Maintenance Checklist for Quincy Homeowners
The number one cause of premature spring failure in Quincy isn’t age. It’s skipped lubrication during the cold stretch from November to March, when temperature swings and road salt spray off Route 3 and the Southeast Expressway work on the metal every time you pull in. Springs don’t announce themselves; they fatigue quietly until one snaps on a Tuesday morning. This guide is built around the order in which garage door components actually wear out in Quincy weather, not a generic annual-checkup list that tells you to “inspect everything.” Read it once, keep it handy, and you’ll know what to look at, when to look at it, and what tells you to stop and call a technician.
Quick Answer
A working garage door maintenance checklist for Quincy covers six components in sequence: springs, cables, rollers and hinges, track alignment, weather seal and bottom bracket, and the opener’s balance, travel limits and auto-reverse. Most items need checking every three to six months, but springs need lubrication monthly through the cold season. Any sign of a broken spring or frayed cable means you stop and call a trained professional rather than test it further.
Styles & brands we work with
- Raised-panel steel
- Carriage house
- Modern flush
- Full-view glass
- LiftMaster openers
- Chamberlain openers
Table of Contents
- Why the Order of Your Checklist Matters
- Step 1: The Spring Inspection and What “Normal” Looks Like
- Step 2: Lubrication Through the Cold Months (And What Not to Use)
- Step 3: Cables and Rollers
- Step 4: Balance Test, Travel Limits and Auto-Reverse
- Step 5: Weather Seal, Bottom Bracket and Track
- Maintenance Intervals by Component
- When to Call a Professional
Why the Order of Your Checklist Matters
Most checklists online are organized alphabetically or by convenience. Ours is organized by failure chain: each component you check fails into the next one if you miss it. A dry torsion spring increases torque on the opener. A strained opener burns out its motor or strips its drive gear. A door that travels unevenly loads one cable more heavily than the other. By the time you’re calling for garage door opener repair, the actual problem started several steps earlier.
In Quincy homes, that chain is compressed by the climate. The stretch from November through March brings repeated freeze-thaw cycling that works grease out of hinges and track joints faster than a steady cold would. Spring and fall bring temperature swings that expand and contract the door panels and slightly shift the track alignment. Homeowners in Wollaston and Quincy Point often notice the door getting louder in February and quieter again in May, and assume the noise was just the cold. Sometimes it is. Sometimes it’s a roller with a seized bearing that’s been dragging on the track for months.
Work through the checklist in the order below, top to bottom, and a single pass covers all six components plus the two safety tests. It takes about twenty minutes for an experienced homeowner. It saves the cost of a service call on a door that didn’t need one, and it catches the two situations that must never be ignored.
What You Need Before You Start
- A stepladder tall enough to see the torsion spring above the door with your feet on a solid floor
- A flashlight, because most garages are darker than they look once you’re looking at the spring assembly
- A spray lubricant specifically labeled for garage door hinges and rollers (not a general-purpose solvent spray)
- A rag and a pair of gloves
- Nothing else. This checklist is designed to be done by eye and by hand, not by disassembly.
Step 1: The Spring Inspection and What “Normal” Looks Like
Springs are the first item for a reason. In a Quincy garage, they take more load than any other part and they fail with the most warning signs if you know what to look for. There are two types: torsion springs, which mount horizontally above the door on a steel shaft, and extension springs, which run along the sides. Most homes built or re-doored in the last thirty years use torsion springs. Older doors, including many still working fine in North Quincy, use extension springs.
Here’s the pass/fail criteria a non-technician can apply with confidence:
- Pass: The spring coils are evenly spaced, uniform in color, and intact end to end. No gap anywhere along the coil.
- Fail (torsion): A visible gap of an inch or more in the coil. That gap means the spring has snapped. The door will usually seem lighter than normal when lifted by hand, and the opener may run but fail to raise the door.
- Fail (extension): A stretched or broken spring hanging loose from its bracket, or a gap in the coil. Extension springs also need a safety cable running through the center of the spring; if yours doesn’t have one, that’s a defect worth addressing.
- Caution: Rust spots or pitting along the spring. Rust doesn’t mean broken, but it means the coil is losing strength unevenly. Note it and watch it.
This is where the checklist stops for a homeowner. A loaded torsion spring is under hundreds of pounds of tension, and the winding bars required to release or replace it are tools, not something to substitute with a screwdriver or a piece of pipe. Do not attempt to loosen, adjust, or remove a spring yourself. Call a trained technician. Our garage door spring repair work starts with a proper spring-to-door weight calculation, because a replacement spring sized wrong fails early and can damage the opener. If your door’s spring is broken right now, call (855) 337-1177 before you run the opener again.
Step 2: Lubrication Through the Cold Months (And What Not to Use)
Lubrication is the single highest-value maintenance task on the list, and the one most Quincy homeowners skip. It’s also the one where the wrong product does more harm than good. Here’s what matters:
What actually works in sub-freezing temperatures
You need a lubricant that stays viscous when the garage drops to 20°F and below. In practice, that means a purpose-made garage door lubricant or a light lithium grease in a spray can. Both are designed to leave a film that doesn’t gum up in cold weather. Apply to:
- The torsion spring coils themselves (a light coat, not soaked)
- Each hinge pivot point
- The roller stems where they meet the hinges
- The inside of the track where the rollers ride
- The opener’s rail or belt, if the manual recommends it (check the manual before doing this one)
What to avoid, and why
The most common substitute homeowners reach for is a general penetrant like WD-40. Don’t. It’s a solvent and water displacer, not a lubricant, and it strips the factory grease from the spring and hinge points faster than it helps. What’s left behind after it evaporates is a dry surface that collects grit. In cold weather, that grit plus a stripped surface is exactly the condition that accelerates fatigue on a torsion spring. Silicone spray is another common go-to; it’s fine for door seals and rubber, but too thin for loaded metal. Save it for the weatherstrip and use the right product on the hardware.
How often
Twice a year in most climates. In Quincy, the November-through-March window calls for monthly. That’s the stretch when temperature cycling and the residue from road salt on vehicles and boots accelerates the breakdown of any film you applied in the fall. Put it on the calendar for the first of each month from November to March, and you skip the whole thing the rest of the year if you like.
Step 3: Cables and Rollers
Cables carry the door’s weight along the sides and, like springs, they’re under constant tension. Different from springs, they can fail from one frayed strand with very little warning. Look at both cables (there’s one on each side) along their full length.
- Pass: Cables are tight, clean, with no visible broken strands or kinks. The bottom of each cable is securely looped on the bottom bracket.
- Fail: Any strand broken. A broken strand shows as a small wire “whisker” poking out of the cable. A cable that’s come off its drum on the torsion shaft is also a fail.
- Caution: A cable that’s loose or sagging when the door is down may have come off its drum, or it may be a symptom of an unbalanced door. Either way, don’t run the opener until it’s checked.
Cables are in the same category as springs from a safety standpoint. A cable that snaps under tension is a serious injury hazard, and re-cabling a door requires proper drum seating and tension. This is a stop-and-call situation. If you see a broken strand, leave the door closed and call.
Rollers are simpler. There are ten on a standard sectional door, two per hinge. Look at each roller where it meets the hinge:
- Rolls smoothly and silently when you move the door by hand: pass.
- Rattles, wobbles on its stem, or has a flat spot: needs replacement.
- Is a steel roller with a seized bearing: replace. Nylon rollers last longer in a climate like Quincy’s because the bearing doesn’t rust, and if your door is currently on steel, this is a low-cost upgrade worth making.
Step 4: Balance Test, Travel Limits and Auto-Reverse
This section is the one that protects both your door and your opener warranty. Three tests, all safe to run, none requiring tools.
The balance test
- Disconnect the opener using the manual release cord (the red handle on the rail).
- Lift the door by hand to about halfway open.
- Let go gently.
- A balanced door stays where you put it. A door that drifts down within a few seconds means the spring tension is too low. A door that drifts up means it’s too high. Either is an adjustment call, not a DIY job.
Travel limits
With the door reconnected and the opener engaged, run the door through a full open and close cycle. The door should stop with its bottom edge about level with the concrete, and fully retract at the top without straining or stalling. If the opener struggles at either end, or reverses early on close, the travel limits are off. On most LiftMaster and Chamberlain openers, the adjustment screws are accessible on the back of the motor housing. On a Genie or Craftsman unit, the process differs; check your manual before touching anything. A wrong adjustment can damage the door or the opener head.
Auto-reverse
This is the most important test in the checklist and it takes ten seconds. With the door open partway, place a 2×4 flat on the ground under the door, or simply push down on the door as it’s closing. The door must immediately reverse. If it doesn’t, the opener’s auto-reverse force is set too high. Adjust it down on the same panel where you’d adjust the travel limits. Then test it again. If it still won’t reverse, don’t run the door until the opener is serviced.
Two reasons to be careful with these tests on your own. First, modern openers have a printed warranty reference guide on the back panel; most manufacturer warranties specifically exclude damage from improper travel-limit or force adjustments, so if you’re not sure, don’t guess. Second, if the door isn’t balanced (that’s the balance test you just ran), the correct force setting can’t be dialed in on that door. Balance first, adjustments second.
Step 5: Weather Seal, Bottom Bracket and Track
The weather seal is the rubber or vinyl strip along the bottom edge of the door. It’s the cheapest item on the entire list to replace, and it’s also the one that most affects how much cold air, moisture and salt spray reach the door’s hardware. In Quincy homes, a worn bottom seal is often the first domino: water gets under the door, the bottom brackets and door bottom rust, the springs and cables corrode faster at their attachment points.
- Pass: Seal is flexible, pliable when pressed, fully seated in its retainer, and makes contact with the floor across the entire width when the door is closed.
- Fail: Cracks, hard or brittle rubber, pieces missing, or a seal that has flattened enough to leave daylight visible under the door.
- Caution: A bottom bracket or bottom panel with visible rust. Don’t force the bracket off to check; the bracket is under cable tension.
The track is straightforward to check by eye. Stand at the side of the door and look down its length.
- Tracks should be parallel, vertical at the sides and perpendicular at the top, with no visible dents.
- Any bend in a track, even a small one from a bump with a car or bike, will cause the rollers to bind and wear faster. It’s not a safety emergency, but it’s a cost multiplier if left alone.
- Loose track bolts at the bracket points should be snug. Don’t overtighten; the track is meant to have slight give.
If you’re unsure whether a track issue is worth a call, our full garage door repair service includes an inspection and a written estimate, so you know the cost before you make a decision.
Maintenance Intervals by Component
Rather than a blanket “once a year” instruction, here’s how often each component actually needs attention in a Quincy garage. Print it, stick it to the wall, and you’re set.
| Component | Check | Service / Lubricate |
|---|---|---|
| Torsion or extension springs | Monthly November to March; quarterly the rest of the year | Lubricate monthly November to March; service by technician only |
| Hinges | Every three months | Lubricate every three months |
| Rollers | Every six months | Lubricate every six months; replace on any flat spot or wobble |
| Cables | Every three months | No owner service; replace only by technician |
| Track | Every six months | Snug bolts as needed; repair bends by technician |
| Weather seal | Every six months | Replace when it cracks, hardens, or daylight shows underneath |
| Bottom brackets | Every six months | No owner service; inspect only |
| Opener balance, travel, auto-reverse | Every six months, and after any auto-reverse test failure | Adjustments only with the manual in hand, or by technician |
If you follow the intervals above, you replace a $15 tube of lubricant once a year and you stretch the life of a spring that would otherwise cost much more to replace. In a Quincy garage, that math is the whole point of the checklist.
Common Mistakes to Avoid
- Using WD-40 or a silicone spray on the springs. Both strip the correct lubricant and leave a dry surface that collects grit. Use a garage-door-specific lubricant in a spray can, not a household product.
- Skipping the November lubrication window. This is the single mistake that shortens spring life in Quincy’s coldest months. The cold doesn’t cause the failure; the dryness caused by a skipped lubrication does.
- Adjusting the opener force to compensate for a door that’s out of balance. You’ll be masking a spring problem with an opener setting, and the opener will burn out faster than the spring would have failed.
- Testing auto-reverse by sticking your hand under a closing door. The standard test is a 2×4 on the ground, or a firm downward push. Never a body part.
- Winding or loosening a torsion spring with tools that aren’t winding bars. Screwdrivers, pipe sections and vise grips are all non-starters. This is a job for a technician with the right tools, not a weekend project.
- Bending a dented track back into place by hand. Tracks are thin steel and easy to over-bend. A dent restored by force leaves the rollers binding badly at that point.
- Ignoring a small puddle on the garage floor after rain. In Quincy, that puddle is often a worn bottom seal letting water reach the door bottom bracket. Fixing the seal is cheap; replacing the bracket and bottom panel isn’t.
See the difference
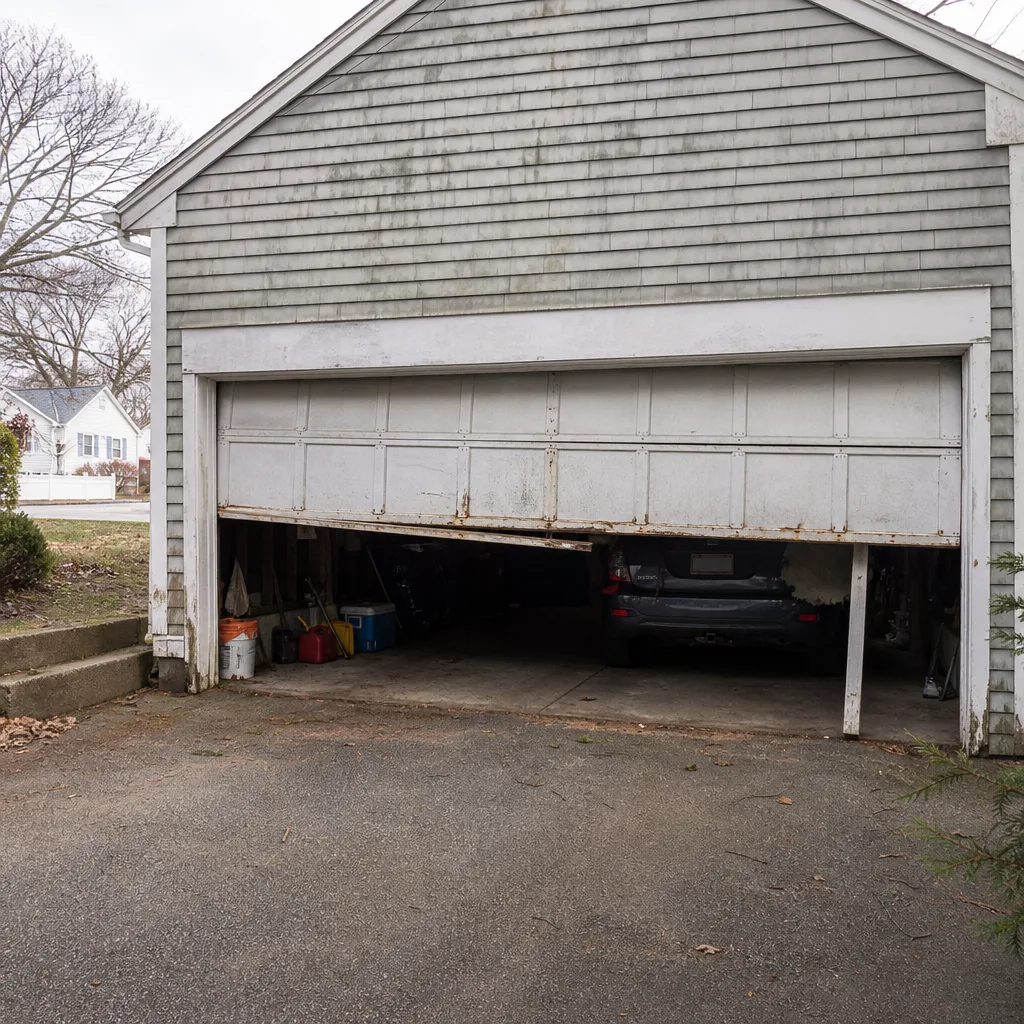 Before
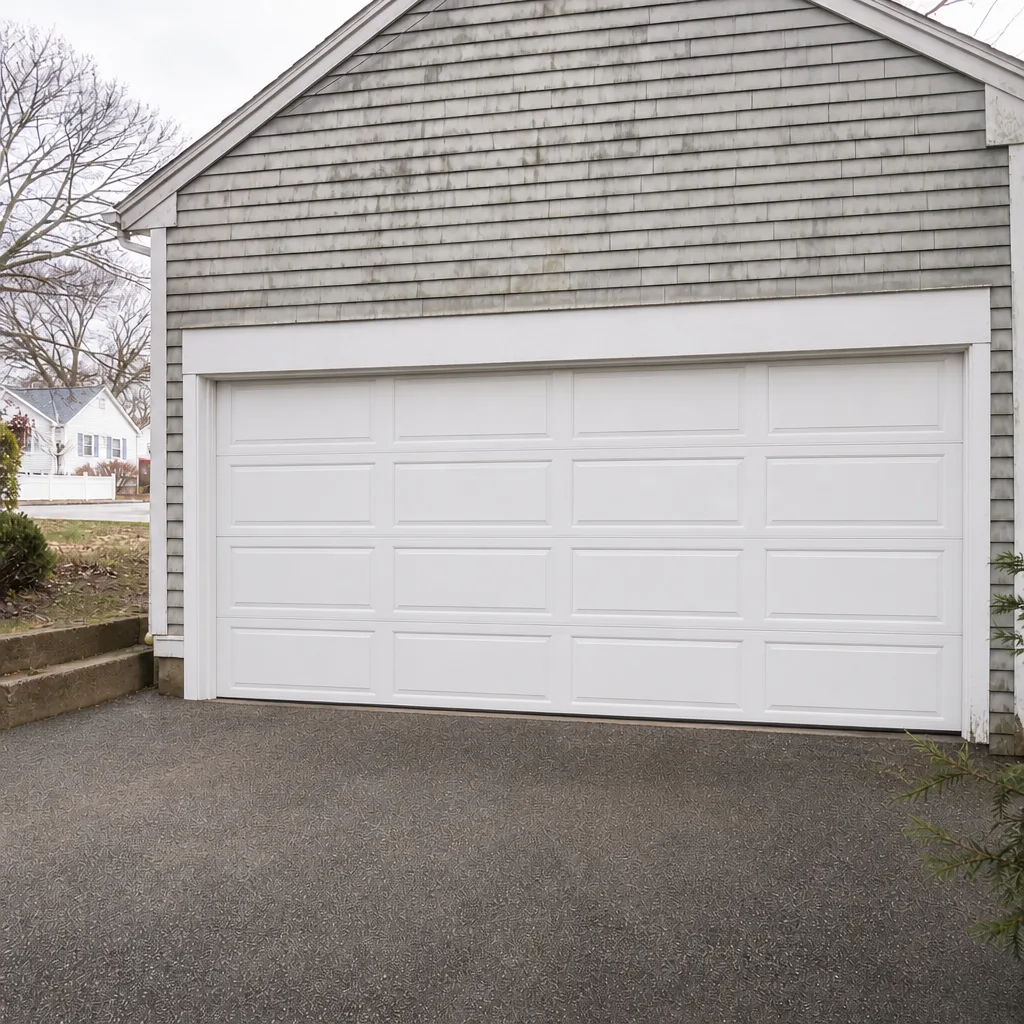 After
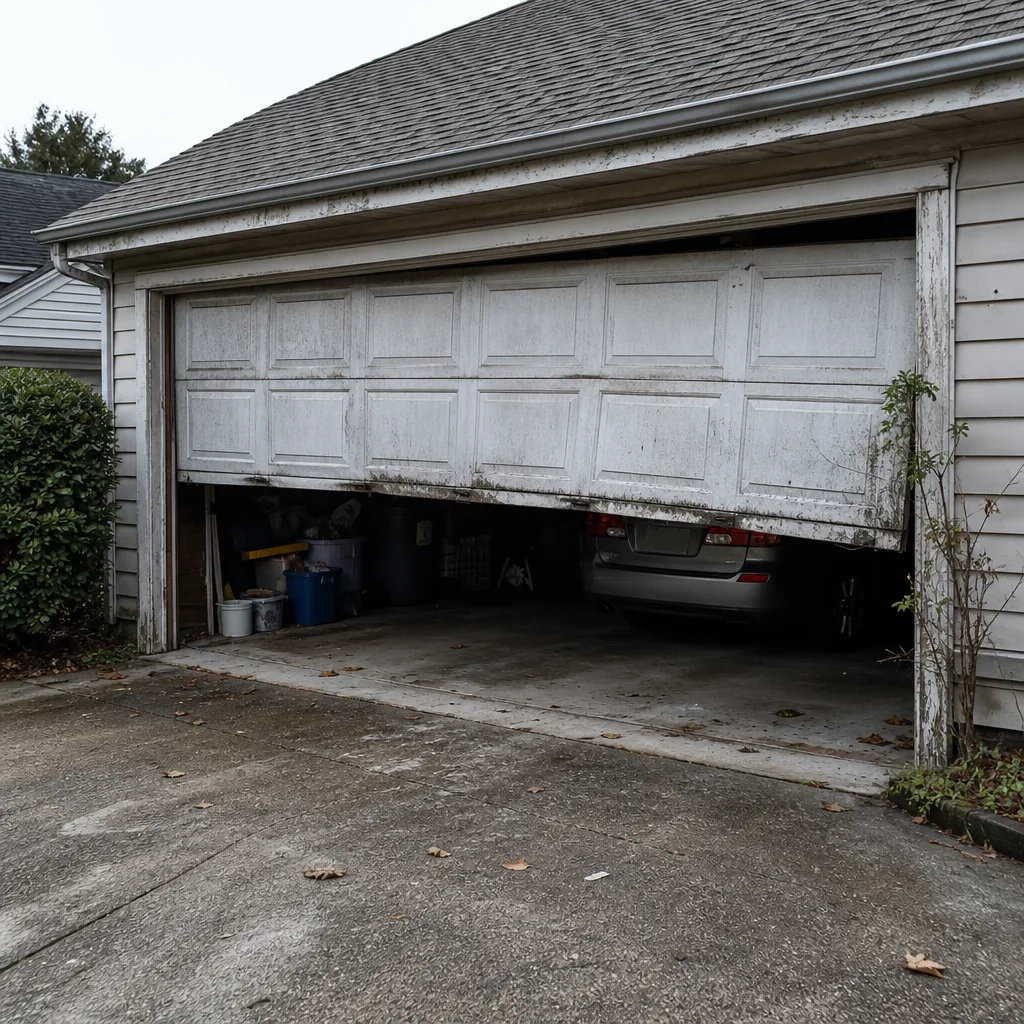 Before
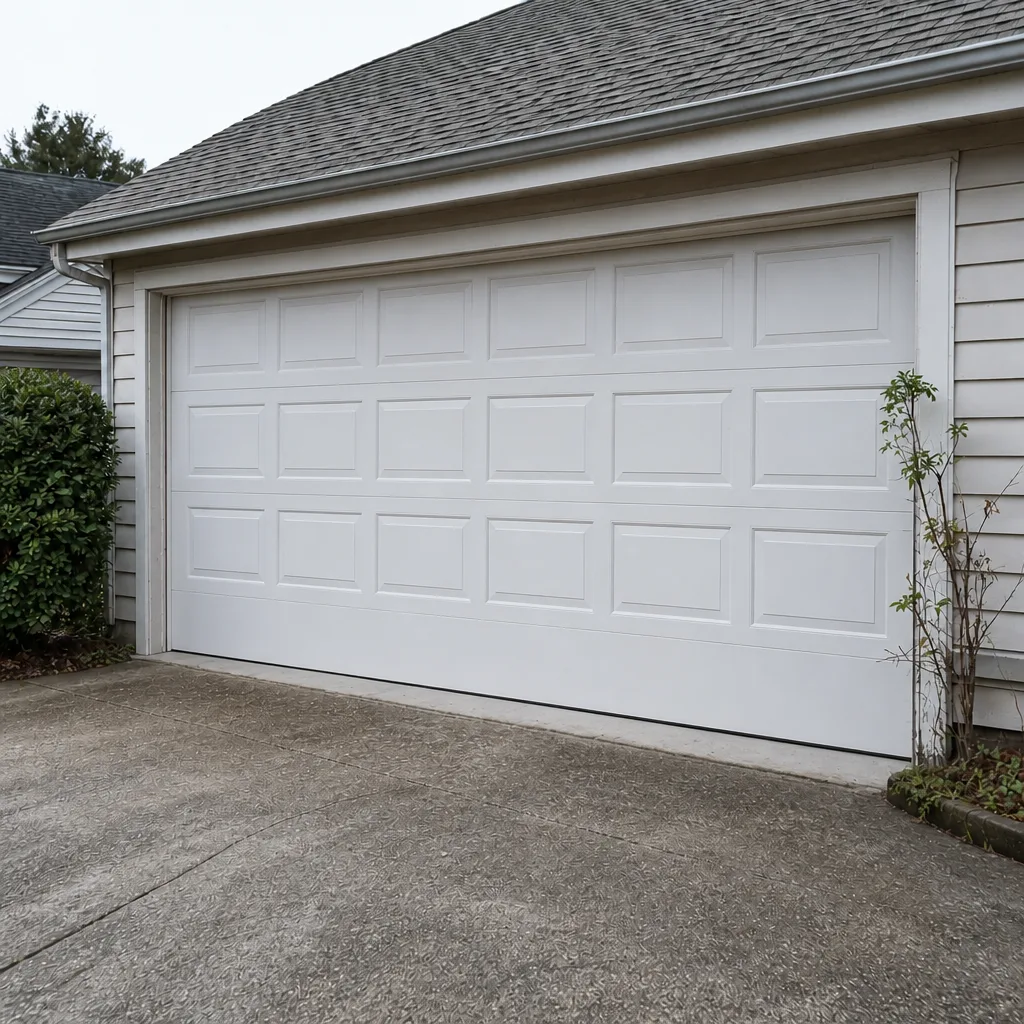 After
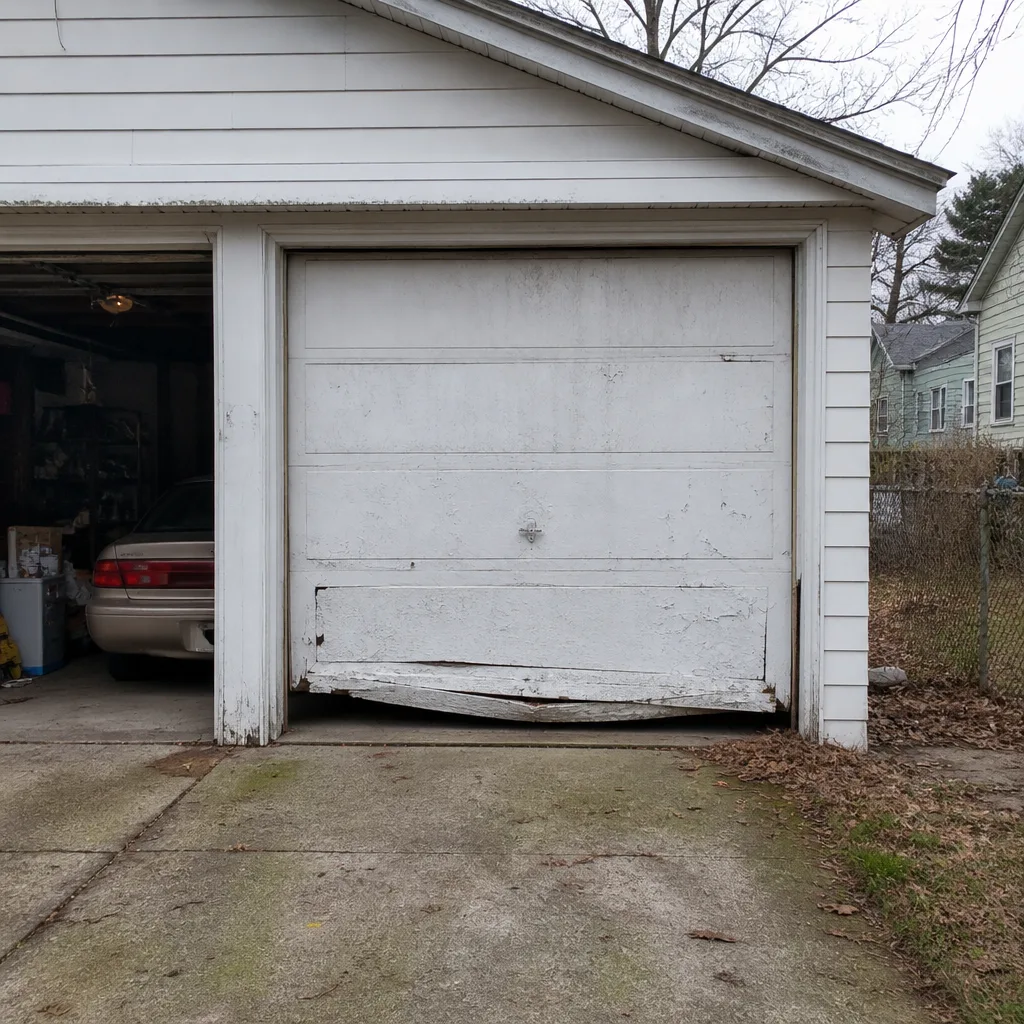 Before
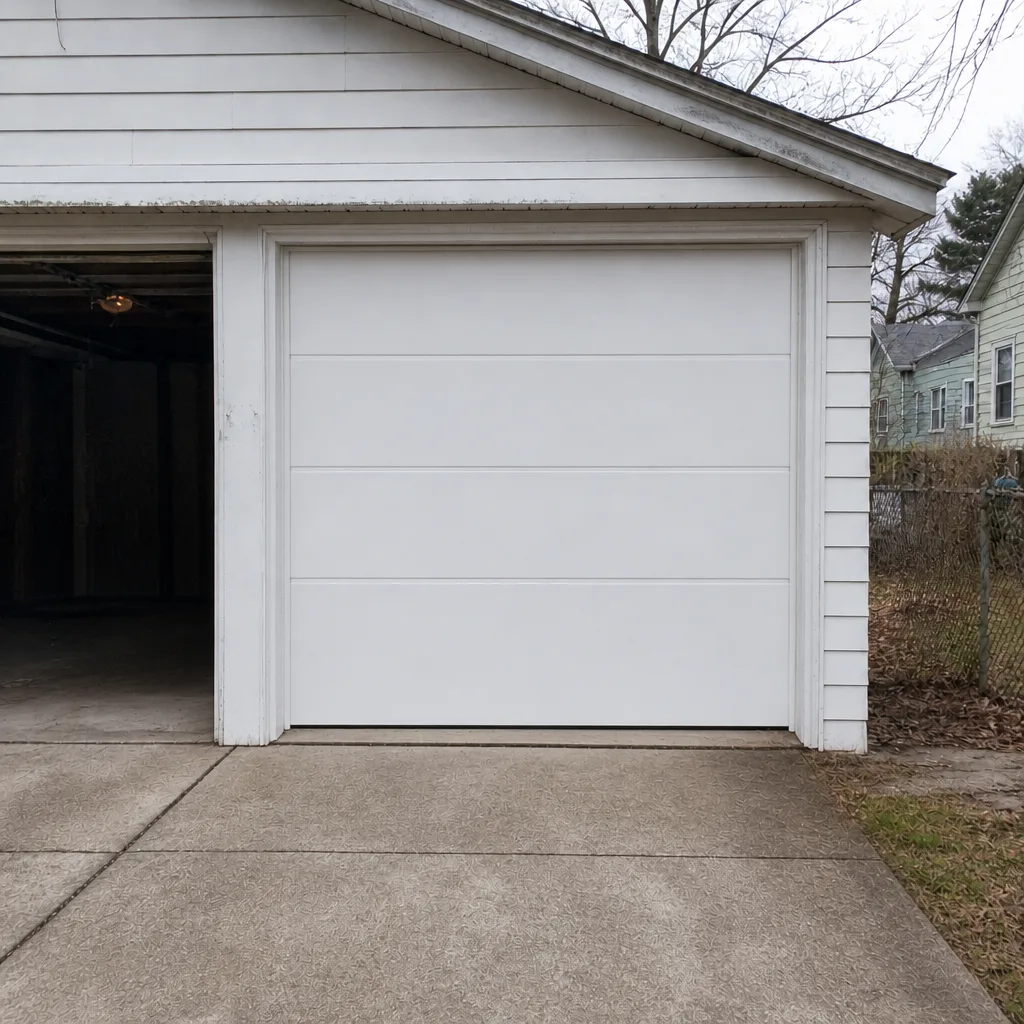 After
When to Call a Professional
The checklist above tells you when to stop. It stops for broken springs (a gap in the coil, or a door that suddenly feels light), broken or frayed cables, a door that won’t balance when disconnected, an auto-reverse that fails after an adjustment, or a track that’s visibly bent. It also stops for any door that has suddenly become crooked, noisy in a new way, or harder to lift than it was last month. Those are all indicators that the failure chain is already underway.
Brand matters less than you’d think at this stage. Our technicians work on equipment from Craftsman, LiftMaster, Chamberlain, Genie, Clopay, Amarr, Wayne Dalton and Raynor, so whatever system is already on your Quincy door, you’re getting service built around it. Our technicians have up to 10 years of experience, and spring repair is a core part of our work, not something we farm out. Quincy Garage Door Repair Co offers free estimates in Quincy, so call (855) 337-1177 and we’ll give you a written price before any work starts.
Frequently Asked Questions
Every three to six months for a full inspection, with monthly lubrication of the springs during the November-to-March cold stretch. A Quincy garage door is under more metal fatigue stress than the same door in a milder climate because of the freeze-thaw cycling, so the intervals are shorter here than the generic “once a year” advice.
No. A torsion spring is under hundreds of pounds of tension, and the correct installation requires calculated spring sizing and proper winding bars. This is the single most dangerous repair in the industry, and it’s the reason we always recommend a trained technician. Call (855) 337-1177 for a free estimate on spring repair.
A typical spring replacement is one spring per job, and the exact cost depends on the door’s weight and spring size. We give a written estimate before any work starts, so the price you agree to is the price you pay. Call (855) 337-1177 for an exact quote; estimates are free.
No. The written estimate is the price, and we agree on it before any work begins. If we find a second issue during the repair, we’ll tell you about it and quote it separately; you decide whether to proceed.
A slight gap in the coil, a door that feels lighter than usual when lifted by hand, or an opener that runs but doesn’t raise the door. Any of these mean stop and call. Don’t run the opener until the spring is checked, because the open motor will strain against a door it can’t lift.
The local professionals we connect you with are licensed and insured as their state requires. Our technicians have up to 10 years of experience and handle spring, cable, opener and full-door work. Call (855) 337-1177 to schedule a free estimate.
Yes. LiftMaster, Chamberlain, Genie and Craftsman are all brands we work on regularly, including smart-home and connected-garage models. We’re factory-familiar with the electrical and mechanical specifics of each, so you’re not getting generic service on a brand-specific part.
The Bottom Line
The right checklist for a Quincy garage is timed to the climate, not the calendar. Springs need monthly lubrication from November to March. Cables need inspection every three months. Balance, travel limits and auto-reverse need testing every six months, and a broken spring or frayed cable means you stop and call. If you’d rather have it all done in one visit, our team can handle everything from garage door opener repair to a full new door installation, so it’s one call and one provider from start to finish. If you’re new to the area or haven’t had the door looked at in a while, start with a Quincy Garage Door Repair Co free estimate and get an honest read on the door before you decide what needs work.
One call covers it: springs, openers, panels, or a full door. Call (855) 337-1177 for a free estimate in Quincy today.
Written by the team at Quincy Garage Door Repair Co.